You run your hand over the flat, cold drywall of your apartment. It is painted that ubiquitous, lifeless shade of ‘landlord white.’ The room echoes slightly when you set down your coffee mug, a subtle acoustic reminder that you are just a visitor in a space owned by someone else. You crave the quiet elegance of architectural detail—the grounded feeling of a century-old Toronto Victorian or a stately Halifax manor. But your lease agreement explicitly forbids the aggressive thud of a hammer or the permanent grip of construction adhesive.
You stare at the blank expanse, resigned to hanging a few framed prints and calling it a day. The desire for a refined, custom look feels entirely out of reach when you are not allowed to leave a mark. But what if the walls could speak a different design language entirely, without breaking a single rule in your rental contract?
The Illusion of Permanence
For decades, the home improvement industry has insisted that character requires destruction. We operate under the assumption that adding wainscoting or paneling means renting a pneumatic nailer, breathing in thick clouds of sawdust, and leaving behind structural scars that will inevitably cost you your damage deposit. It is time to treat your apartment like a high-end film set. The stage does not need a concrete foundation to tell a visually compelling story.
The solution challenges everything we assume about traditional carpentry. You can achieve a flawless, designer look using high-density polyurethane moulding stuck directly to the wall with heavy-duty removable mounting tape. It carries the exact visual weight and shadow lines of carved wood, yet feels as light as a handful of dry autumn leaves.
I learned this precise method from a seasoned set decorator working out of a cramped studio in Vancouver. He was tasked with turning a modern, glass-walled condo into a 1920s parlour for a weekend shoot. He had no power tools, and absolutely no permission to alter the rented walls. Instead, he pulled out a bundle of foam moulding and a bulk box of heavy-duty Command strips. “Solid wood fights the wall as temperatures shift,” he told me, pressing a perfectly mitred square of moulding into place. “Foam simply dances with it. It flexes. Give the adhesive tape a firm press, and it holds like iron. Pull the tab gracefully, and it vanishes.”
| The Renter Profile | The Direct Benefit |
|---|---|
| The Serial Mover | Dismantle an entire dining room’s architecture in 20 minutes with zero wall repairs required. |
| The Budget Aesthete | Achieves a custom, bespoke look for a fraction of the cost of raw timber and contractor labour. |
| The Noise-Conscious Neighbour | Requires absolutely no power saws or air compressors. Everything is cut silently with a hand tool. |
The Science of the Hold
The success of this method hinges entirely on understanding the materials you are working with. If you attempt this with standard MDF (Medium-Density Fibreboard) or heavy pine, the mounting tape will eventually fail under the sheer gravitational pull of the wood. The secret lies entirely in the chemistry of high-density polyurethane.
| Material Component | Technical Specification & Logic |
|---|---|
| High-Density Polyurethane | Weighs less than 0.5 lbs per linear foot. Impervious to moisture, meaning it will not warp and stress the adhesive. |
| Heavy-Duty Removable Tape | Utilizes a stretch-release technology. Designed to handle up to 16 lbs of downward shear force per strip. |
| Wall Surface Tension | Requires a clean, flat surface. Adhesion drops by 40% if applied over dust or lingering airborne cooking oils. |
The Art of Temporary Architecture
Start your project with a simple sketch. Map out the boxes or chair rail lines you want to create on your walls. A quick three-mile drive to your local building centre will secure all the lightweight moulding you need.
- Bathroom exhaust fans ignite ceiling insulation without this annual vacuuming routine.
- Landscaping river rocks cost pennies purchasing directly from local aggregate quarries.
- Popcorn ceilings hide completely beneath stretched canvas and temporary tension rods.
- Brass hardware restores perfectly using standard household tomato ketchup acid.
- Contaminated gasoline ruins winter snowblowers across Ontario rural storage sheds.
Cutting the foam moulding requires nothing more than a plastic mitre box and a sharp hand saw. The material yields effortlessly, slicing like firm butter. You can easily do this on your living room floor while watching television, without generating any disruptive noise.
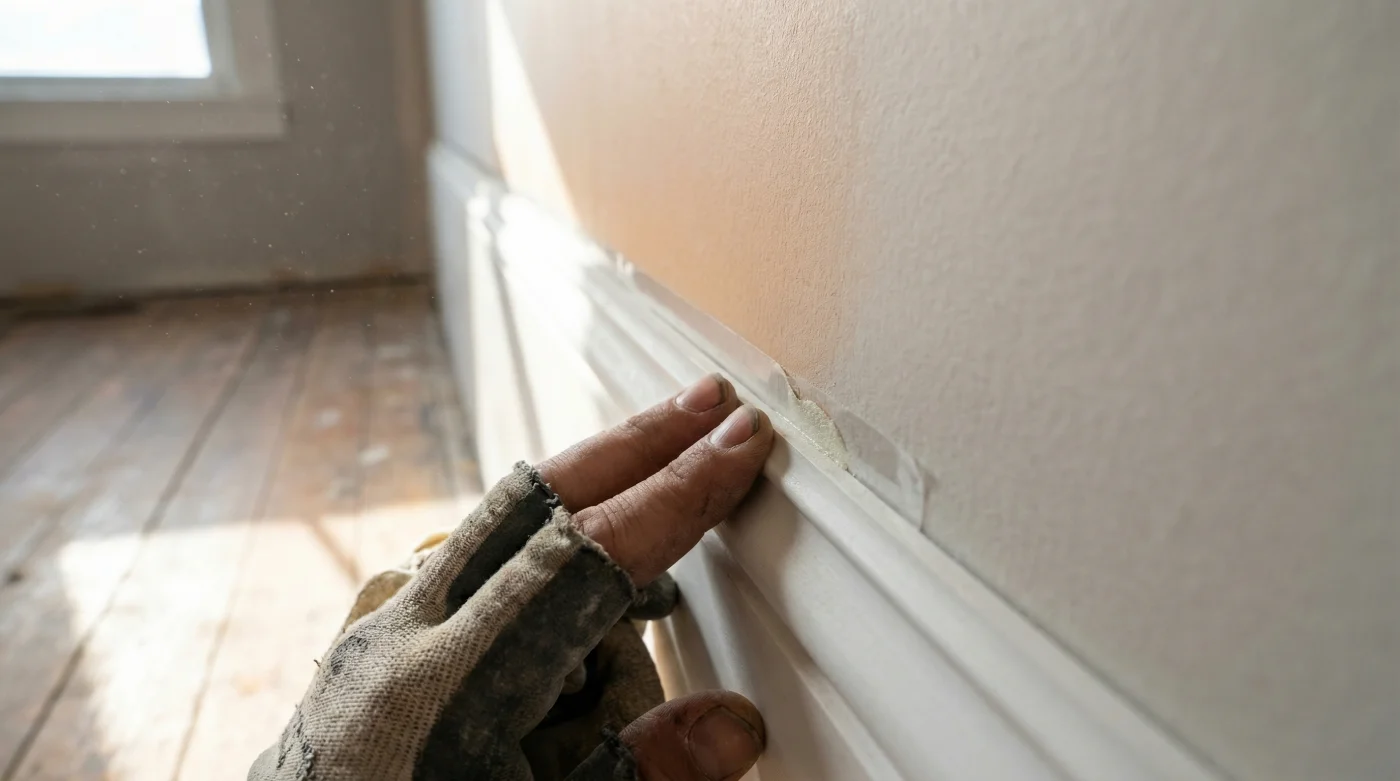
Apply the heavy-duty mounting strips to the flat back of your cut moulding pieces, spacing them about eight inches apart. Use a simple bubble level on the wall to ensure your lines are perfectly straight. Press each piece firmly against the wall for thirty seconds to activate the pressure-sensitive adhesive.
| What to Look For | What to Avoid |
|---|---|
| Polyurethane moulding with a wide, flat backing for maximum adhesive contact. | Polystyrene (styrofoam) mouldings, which easily dent and melt when painted. |
| Name-brand, heavy-duty picture hanging strips (e.g., Command). | Generic double-sided foam tape, which will tear the drywall paper upon removal. |
| High-quality interior latex paint to finish the panels. | Solvent-based or spray paints that can chemically degrade the polyurethane material. |
Claiming Your Space
When you finally step back from your completed wall, the transformation is quietly profound. The flat, echoing box you moved into suddenly holds depth, shadow, and architectural intent. Painting the moulding and the wall behind it the same colour—perhaps a deep, moody green or a warm, historical beige—creates an expensive, monochromatic look that rivals upscale properties.
You have essentially tricked the eye, transforming a temporary rental into a bespoke sanctuary. More importantly, you have claimed the space as your own without compromising your financial peace of mind. When moving day eventually arrives, you will simply pull the tabs, watch the architecture detach effortlessly, and walk away with your full deposit in hand.
“True design is not about permanence; it is about creating an environment that elevates your daily rhythm, even if you are only there for a season.”
Frequently Asked Questions
Will the heavy-duty strips rip my drywall paper?
Not if removed correctly. Always pull the tab straight down, parallel to the wall, stretching the adhesive slowly until it releases. Never pull outward toward yourself.Can I paint the foam moulding?
Yes. High-density polyurethane takes water-based latex paint beautifully. Avoid harsh chemical primers or spray paints, which can eat into the foam.How do I handle textured walls?
Removable strips require flat surface contact. If your rental has heavy stucco or popcorn textures, the adhesive will not form a reliable bond, and the moulding will likely peel away.What if the corners of my moulding do not perfectly align?
Renters can use a tiny amount of lightweight, paintable latex caulking to fill minor gaps at the joints. It bridges the aesthetic gap and wipes away cleanly when you dismantle the panels.Does room temperature affect the installation?
Yes. Apply the strips when the room is comfortable—ideally around 20 degrees Celsius. Extreme cold or humidity during application can prevent the adhesive from curing properly.